The Beginner’s Guide to Setting Up a Control Panel for Your Website
As a website owner or administrator, having complete control and management over your website is crucial. This control includes everything from handling files and databases to managing email accounts and domains. To achieve this level of control, you need a user-friendly and efficient tool known as a control panel. In this beginner’s guide, we will explore what a control panel is, why it’s essential, and steps on setting up a control panel for your website.
Table of Content
Understanding Control Panels
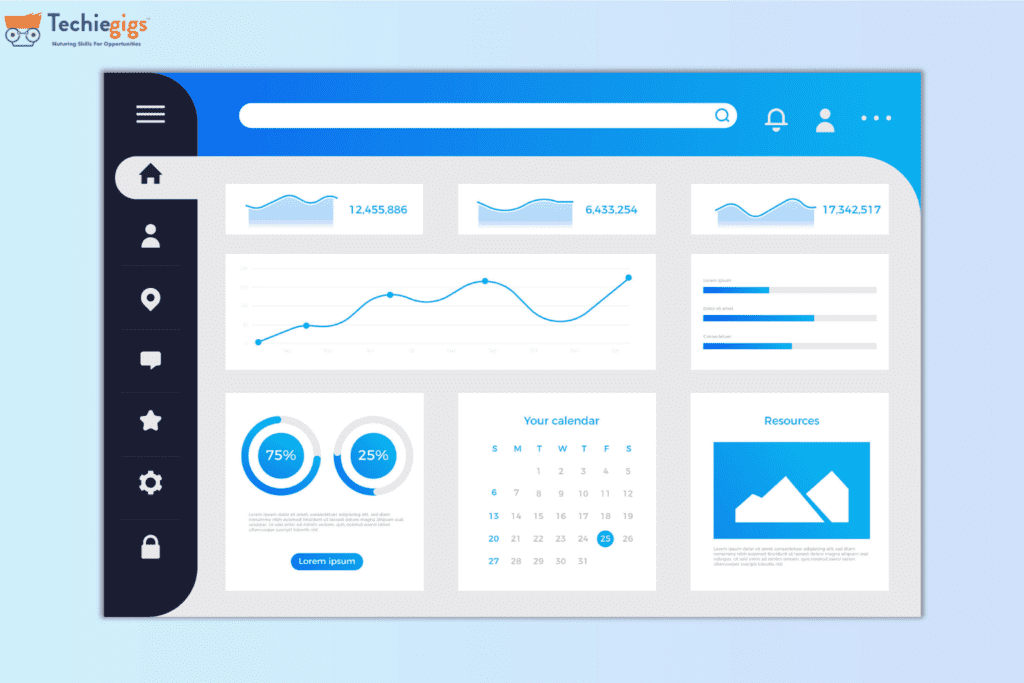
A control panel, also known as a web hosting control panel, is a web-based interface that allows website owners and administrators to manage various aspects of their web hosting account and website without requiring in-depth technical knowledge. It simplifies complex tasks and provides a user-friendly way to handle essential website functions. There are several control panels available, but one of the most popular is cPanel.

Why is a Control Panel Essential?
User-Friendly Interface:
Control panels are designed with user-friendliness in mind. They offer an intuitive graphical interface that makes it easy for beginners to work with their websites.
Efficiency:
Control panels streamline tasks that would otherwise be time-consuming or require technical expertise. This allows website owners to focus on content creation and other essential aspects of their online presence.
Versatility:
Control panels are versatile tools that cater to various needs. You can manage files, databases, email accounts, domains, and even install applications, all from a single interface.
Security:
Many control panels include security features, such as firewall configuration and SSL certificate management, to help protect your website and sensitive data.
Steps to Setting Up a Control Panel for Your Website:
Step 1: Choose a Web Hosting Provider
Before you can set up a control panel, you need to select a web hosting provider that offers control panel integration. Depending on your preferences, look for reputable hosting providers that provide options like cPanel, Plesk, or DirectAdmin.
Step 2: Register a Domain Name
If you haven’t already, register a domain name for your website. A domain name is your web address (e.g., www.yourwebsite.com) and is essential for setting up a control panel.

Step 3: Purchase a Hosting Plan
Select a hosting plan that caters for your needs. Hosting plans vary in terms of resources, such as storage, bandwidth, and server capabilities. Ensure that your chosen plan includes the control panel you want to use.
Step 4: Domain Configuration
Once you’ve purchased a hosting plan, you’ll need to configure your domain name to point to your hosting server. This typically involves updating the DNS (Domain Name System) settings of your domain registrar to match the details provided by your hosting provider.
Step 5: Access the Control Panel
After configuring your domain, you can access your control panel. Most hosting providers provide a link to the control panel in their account dashboard. Log in using the credentials provided by your hosting provider.
Step 6: Familiarize Yourself with the Control Panel
Upon entering the control panel, take some time to explore its features and options. You’ll find sections for managing files, databases, email accounts, domains, security settings, and more. Familiarizing yourself with the layout and tools will make it easier to manage your website.
Step 7: Create Email Accounts
One of the first tasks you may want to perform is setting up email accounts associated with your domain. Most control panels offer a straightforward process for creating email addresses, including custom email addresses (e.g., info@yourwebsite.com).
Step 8: Upload Website Files
If you have an existing website, you’ll need to upload your website files to your hosting server. Access the file manager in the control panel and upload your website’s HTML, CSS, JavaScript, and other files.
Step 9: Set Up Databases
If your website requires a database (e.g., for a content management system like WordPress), use the control panel to create a database and assign user permissions. This step is essential for dynamic websites that rely on databases to function.

Step 10: Configure Domains and Subdomains
If you have multiple domains or subdomains, use the control panel to configure them. You can set up domain redirects, add new domains, and manage subdomains as needed.
Step 11: Security and Backups
Take steps to enhance the security of your website. Configure security settings in the control panel, such as setting up firewalls and managing SSL certificates. Regularly back up your website to safeguard your data.
Step 12: Install Applications
Many control panels offer one-click installation of popular web applications, such as content management systems (e.g., WordPress), e-commerce platforms (e.g., Magento), and forums. Utilize this feature to add functionality to your website easily.
Step 13: Monitor Website Performance
Use the control panel to monitor your website’s performance and resource usage. Check website statistics, review error logs, and ensure that your website is running smoothly.
Conclusion
Setting up a control panel for your website is a crucial step in gaining control and efficiency in managing your online presence. With the right control panel and a basic understanding of its features, even beginners can manage their websites effectively. Follow the steps mentioned in this beginner’s guide to be well on your way to optimizing your website management experience and achieving a successful online presence.


